Photo Timeline
of a Pontoon Boat Restoration
Our gantry is rated for up to 10,000 lbs – even modern twin engine tritoons aren’t that heavy. It makes loading & unloading of pontoons, tritoons, and freight deliveries a breeze.
Before teardown we perform a full systems checks (mechanical & electrical) and take our “before” photos. In this case we were building a new electrical system from scratch – no old wiring or components remained when we were done.
Taking stuff apart is fun! The shop smells horrible during this stage. Spiders galore!
The interior & majority of fencing has been removed… check out the color difference from UV exposure on the carpet. Keep in mind this was a WELL-MAINTAINED pontoon.
Teardown is almost done – we removed the fencing, deck trim, underdeck wiring, ¾” deck, & deck hardware. Crossmembers are exposed – this is the best time for pressure testing logs. The shop stops smelling bad at this point in the process.
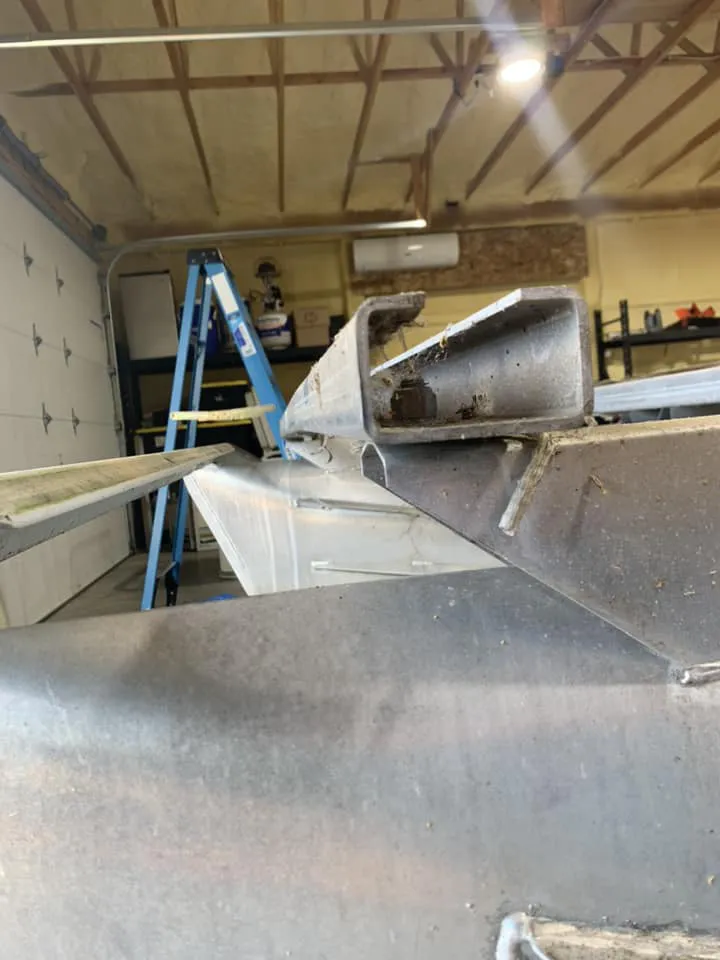
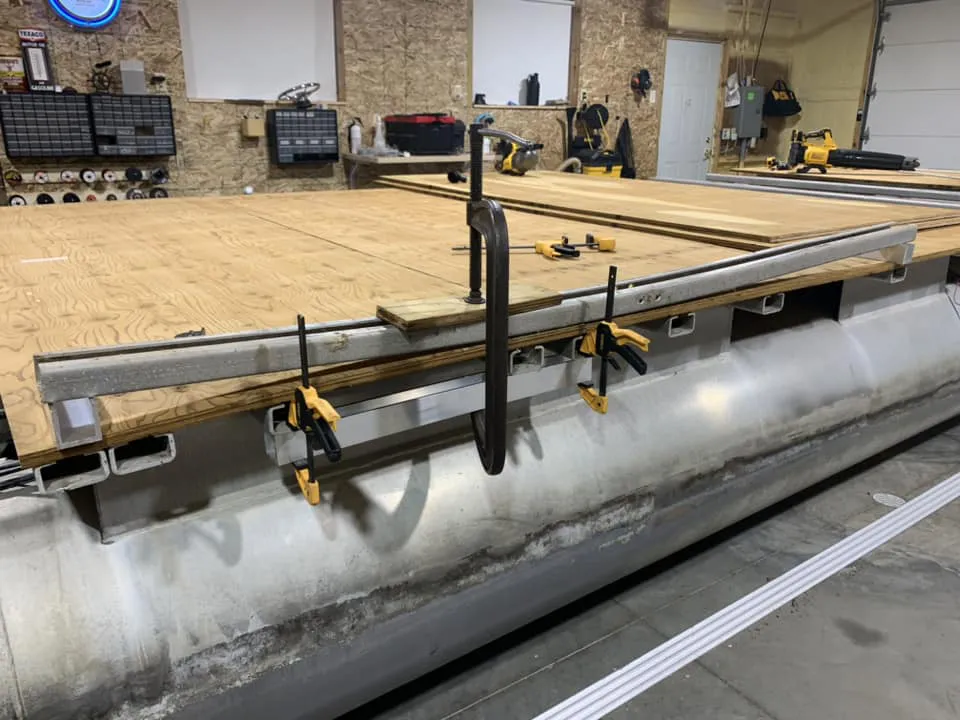
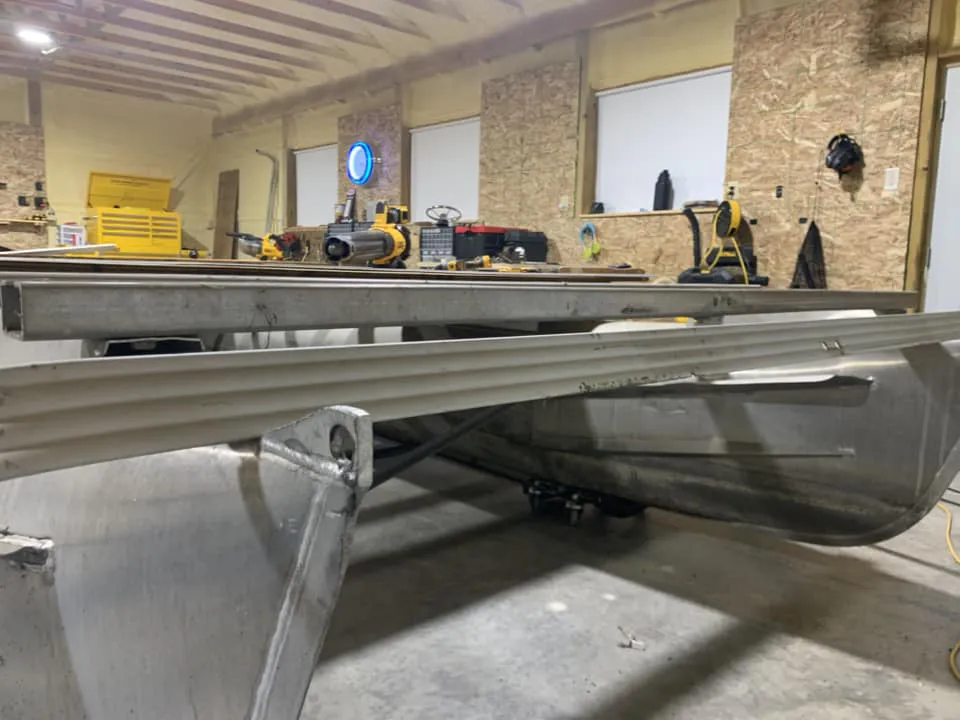
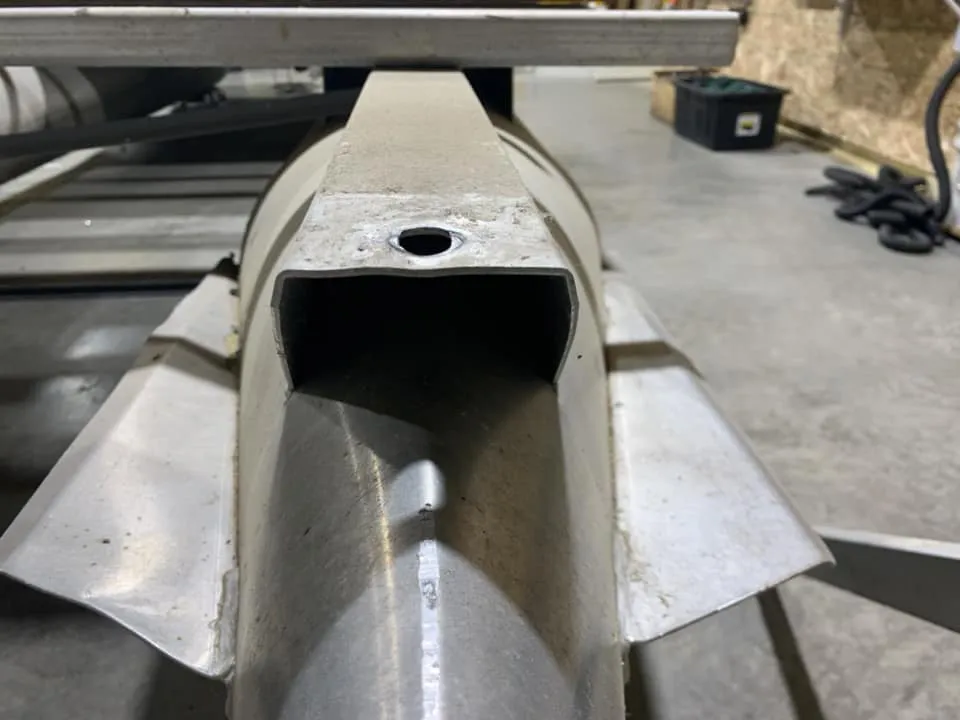
The bow crossmember and M-brackets on this pontoon were bent from years of hitting a center lift trailer harder than it should have. We visually inspect all crossmembers on our ReDecks specifically looking for damage like this. We removed the crossmember, pressed it back to square, and leveled the M-brackets. This will ensure the new deck is flat, the deck trim fits correctly, and provides a better finished product than just saying “good enough” and hoping the deck hardware will torque the crossmember back to square.
We aligned the deck over the crossmembers, ensured the overhangs were equal, templated all the hardware. Crest crossmembers are unique – their pontoons are built like tanks, but they require a specialized hardware and extra focus on seam alignment. Any imperfections in the deck telegraph through the new floor covering – as many DIY’ers find out the hard way.
We level and sand all the seams & hardware points on each one of our ReDecks with a marine putty mix. Very similar to drywall finishing – this reduces that telegraphing we mentioned earlier.
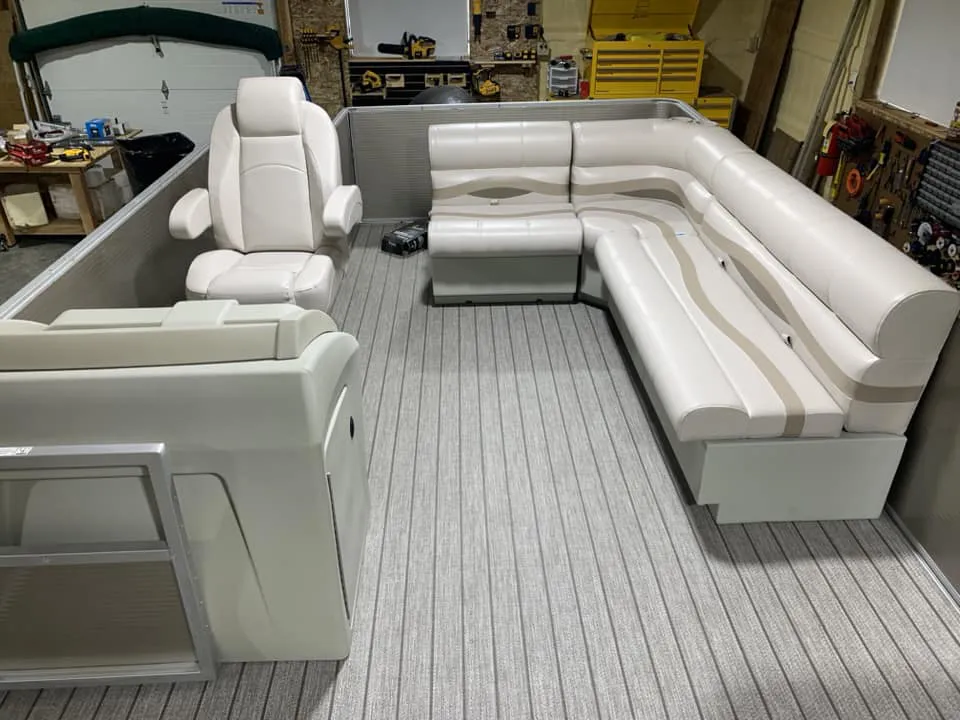
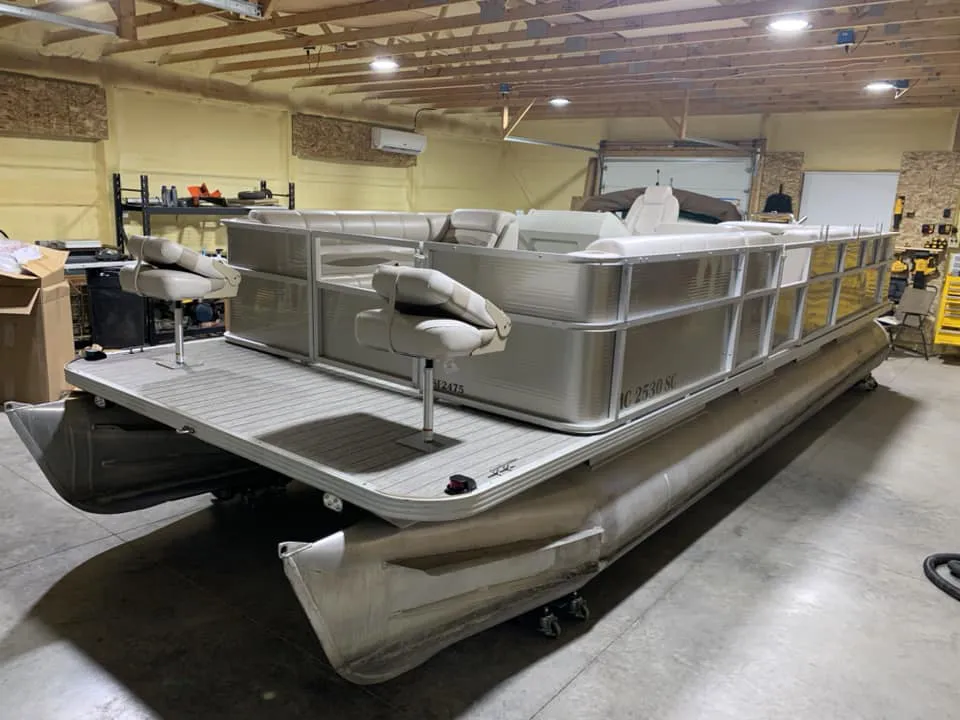
Next up we unrolled our new woven padded seagrass vinyl floor covering – checked for damage – rested it to acclimate to the shop environment – and performed our first cut after alignment.
Using the correct wood-to-vinyl adhesive and the manufacturer’s bonding instructions – this pontoon now has a new vinyl floor ready for years of minimal maintenance and hard use. Humidity & temperature are extremely important for this step – this is not something that should be done outside.
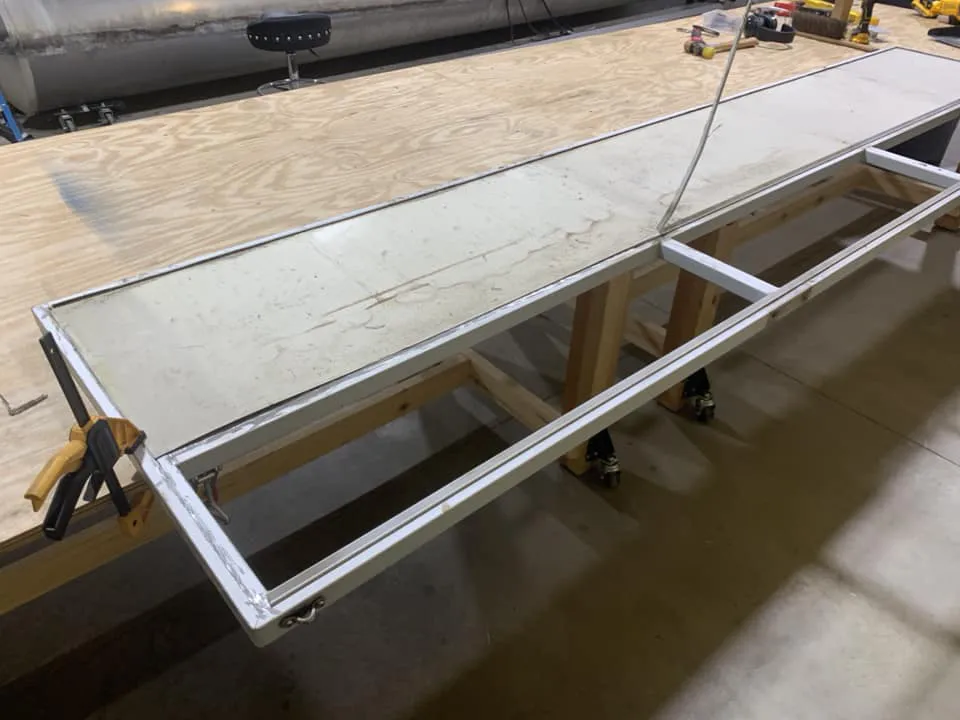
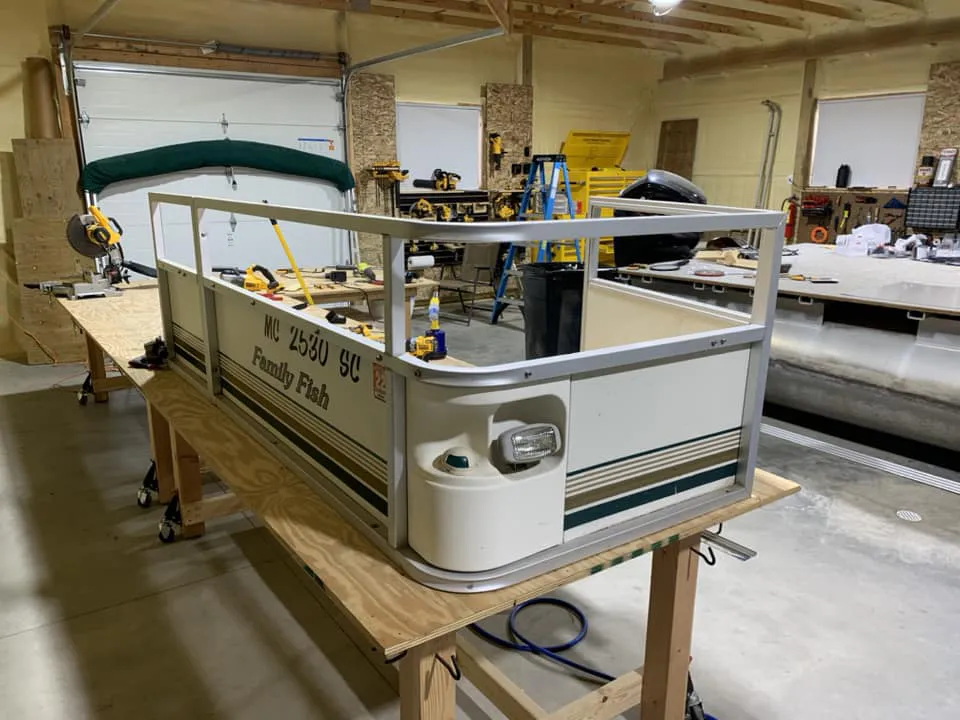
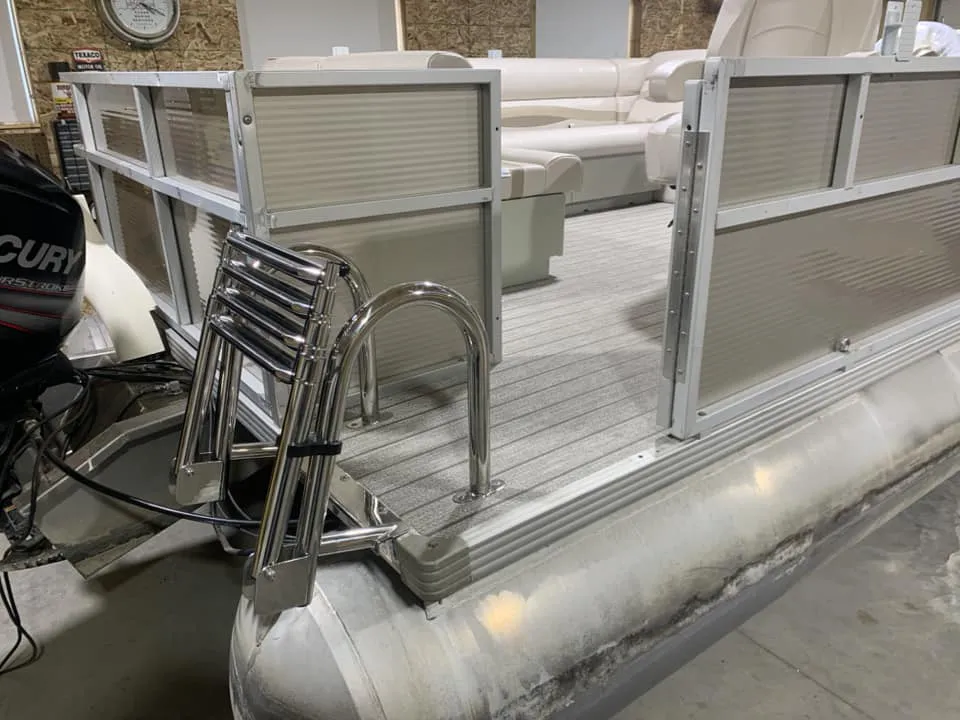
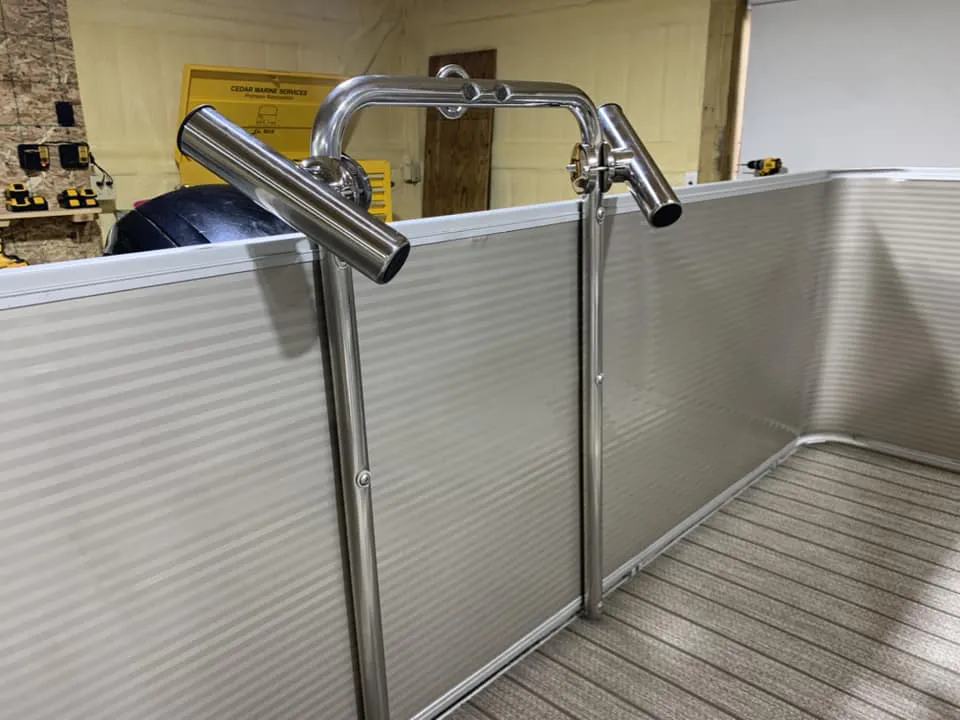
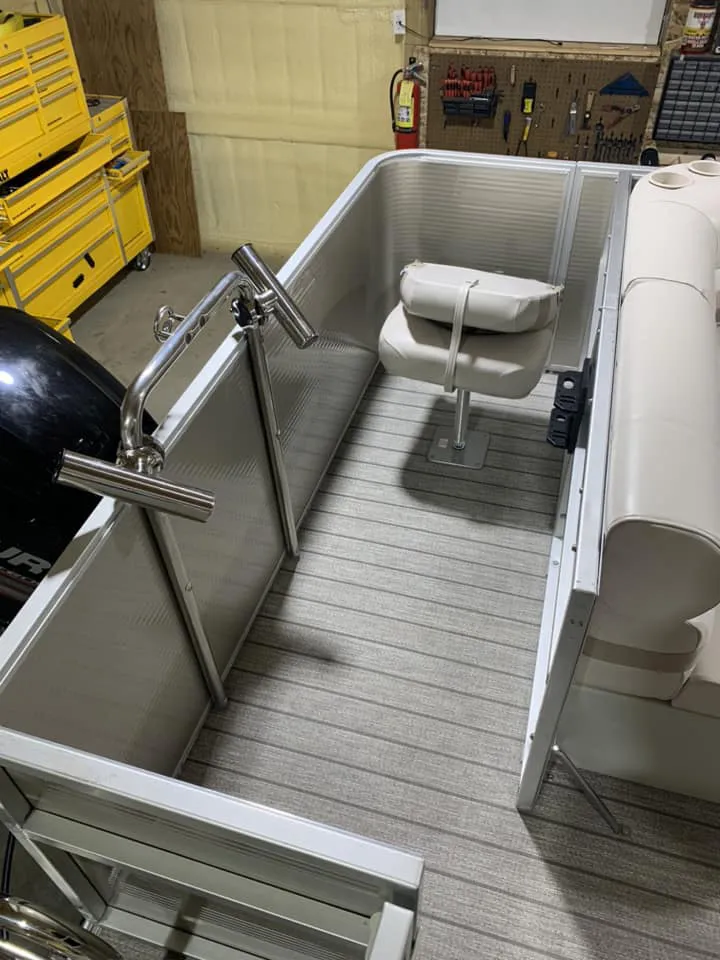
On this particular Comprehensive Restoration we converted the fence paneling height from 2/3 height to full height – quite a bit of work goes in to prepping the existing framing for a change like that. We also added a stern entry behind the captain’s chair.
Our client opted for DeckMate’s Premium Interior system – poly bases, a great warranty, tons of storage, and options for every layout. They have multiple colors per tier and three tiers of interiors available – everything from “simple retro” to “ modern diamond stitching and pillow-top upholstery”.
Fishing and grandkids were important to our clients – so we added a heavy duty stainless steel boarding ladder, rod holders, a rear fishing seat, tackle station, and rod holders.
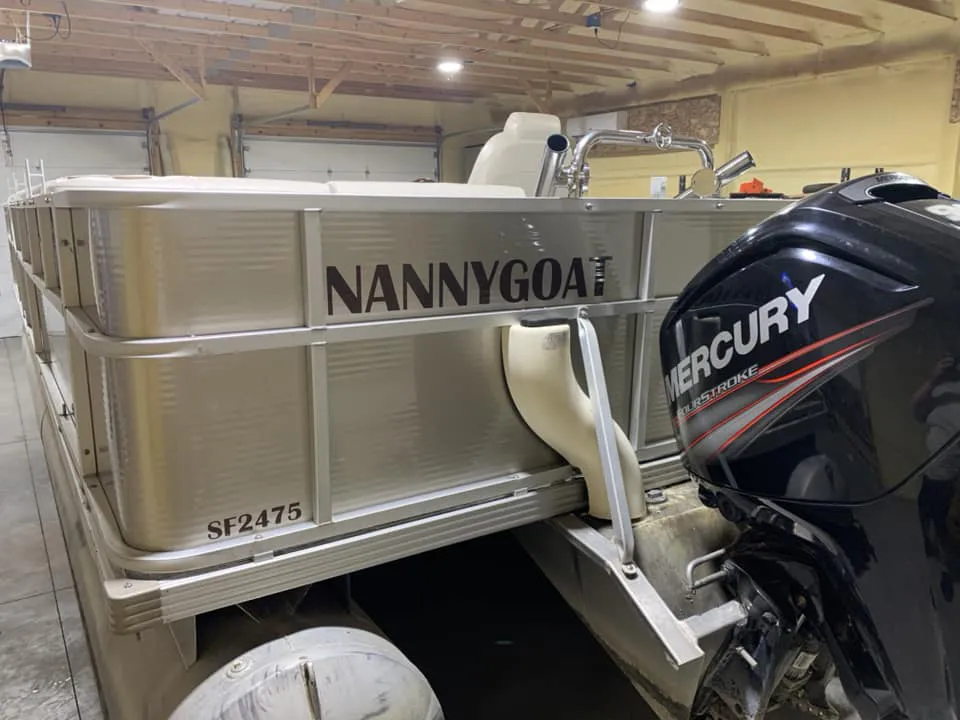
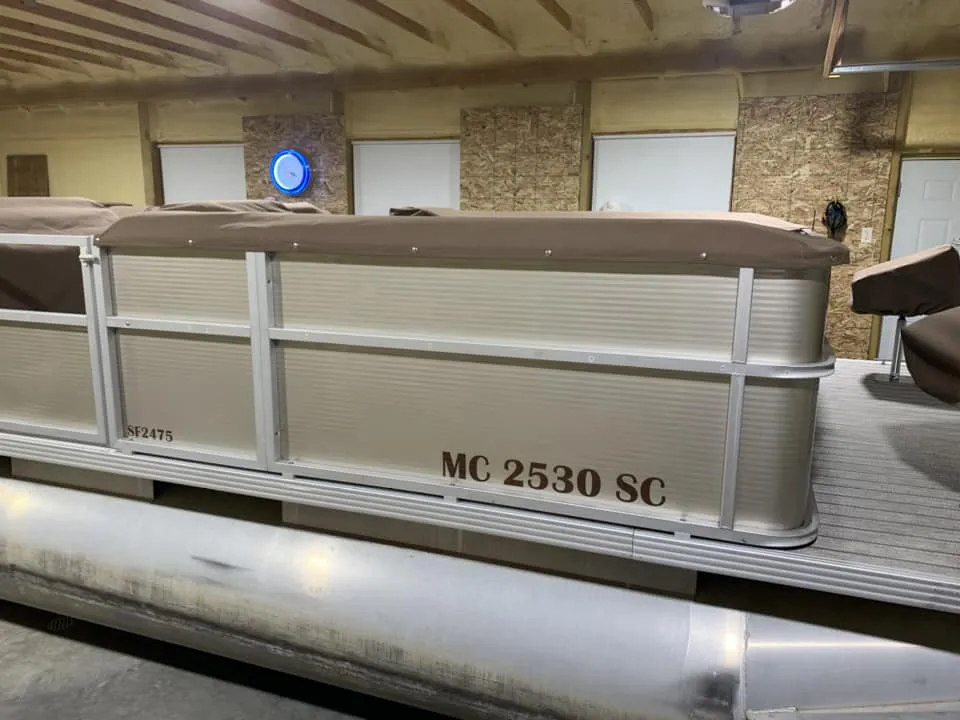
We design, produce, and install our own graphics in-house using a quality exterior mid-weight vinyl – in this case we went with current model-year factory branding with a few tweaks.
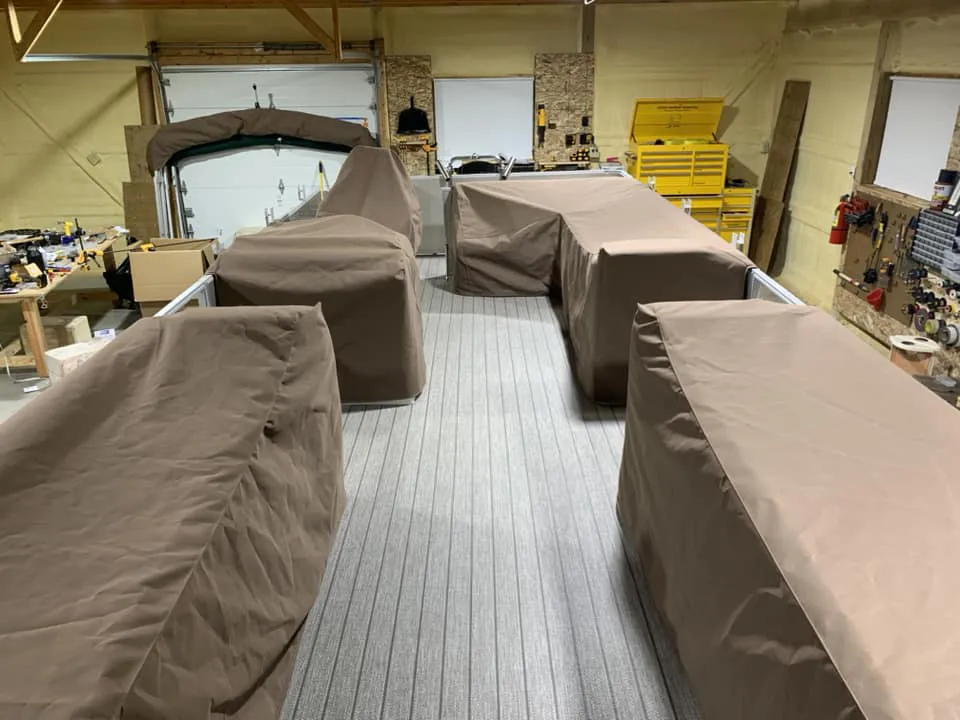
Last up we crafted a seat of Individual Seat Covers out of Sunbrella’s marine canvas. No more poles – crawling – and our client can pick & choose what they want to uncover depending on the day’s boating plans. This is when we took our “after” photos – right before we pull the boat from the shop, perform a full clean & organize of our workspace, and pull the next one in.
This boat has been out in the wild for a few years – our clients love it – they enjoy how convenient boating has become with new materials & our craftsmanship – and they LOVE when they get to say “it’s our old 1998” when the neighbors ask how much their new pontoon cost.


